Managing Leave Requests
The Leave Request management feature allows Team Leaders and Supervisors to handle operator absences directly from the Production Control environment — without leaving their daily planning workflow.
It ensures that all vacation, sickness, or unpaid leave requests are visible, traceable, and approved in a standardized process.
Through this interface, you can:
review pending requests,
approve or reject them with comments,
modify requested dates if needed,
and monitor the historical record of all processed absences.
This creates a transparent link between attendance planning and HR reporting.
Where to Manage Leave Requests
Leave requests can be viewed and managed in two locations:
From the Operators Tab – pending requests are highlighted by a Leave Request icon next to the operator’s name.
Clicking the icon opens a quick action window for immediate approval or rejection.
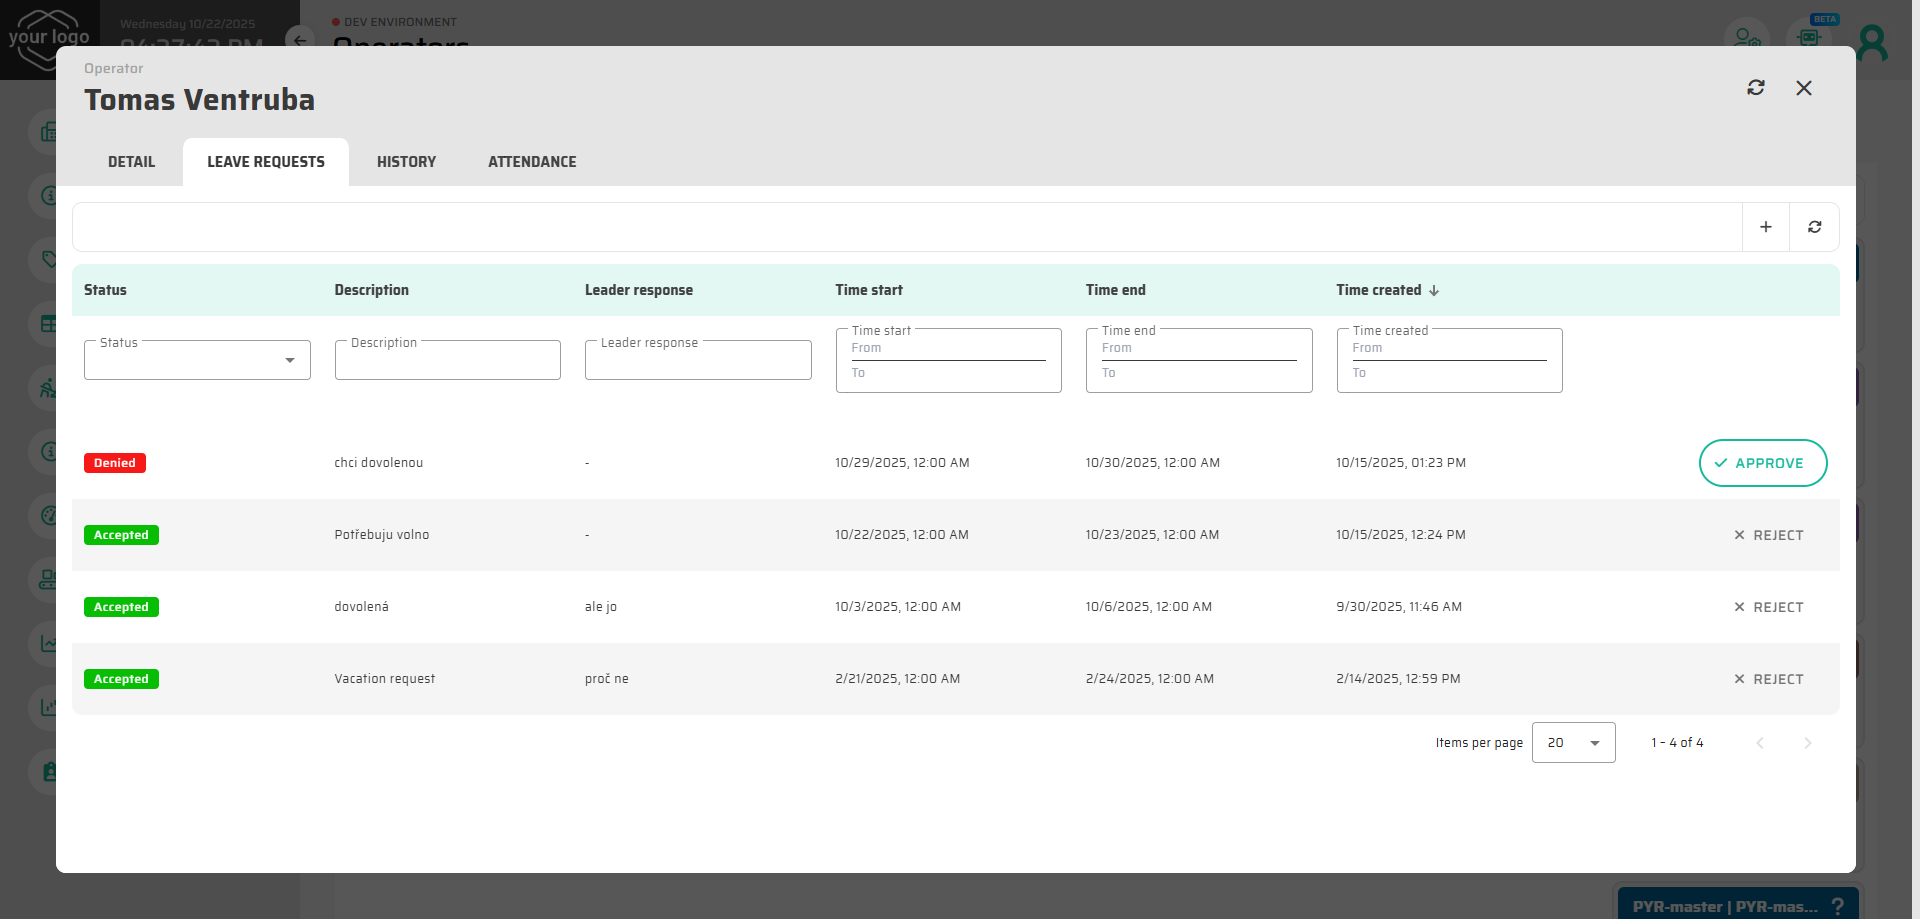
From the Operator Detail – in the Leave Requests tab, you can view all historical and current requests for that specific operator, including status, date range, and comments.

Leave Request Lifecycle
Every leave request follows a defined sequence of statuses.
The system automatically moves requests through this flow based on decisions or timing.
Waiting for Approval – The operator has submitted a new request. It appears as pending in your view.
Accepted – The request has been approved by Team Leader or another authorized person. The operator’s calendar will now show this absence.
Denied – The request was rejected, or the system automatically denied it if the start time passed without a response.
Finished – The approved leave period has started or ended; the request is automatically marked as finished.
.png?inst-v=9ab3c13d-5a67-4df4-bb7b-b2b955fbf737)
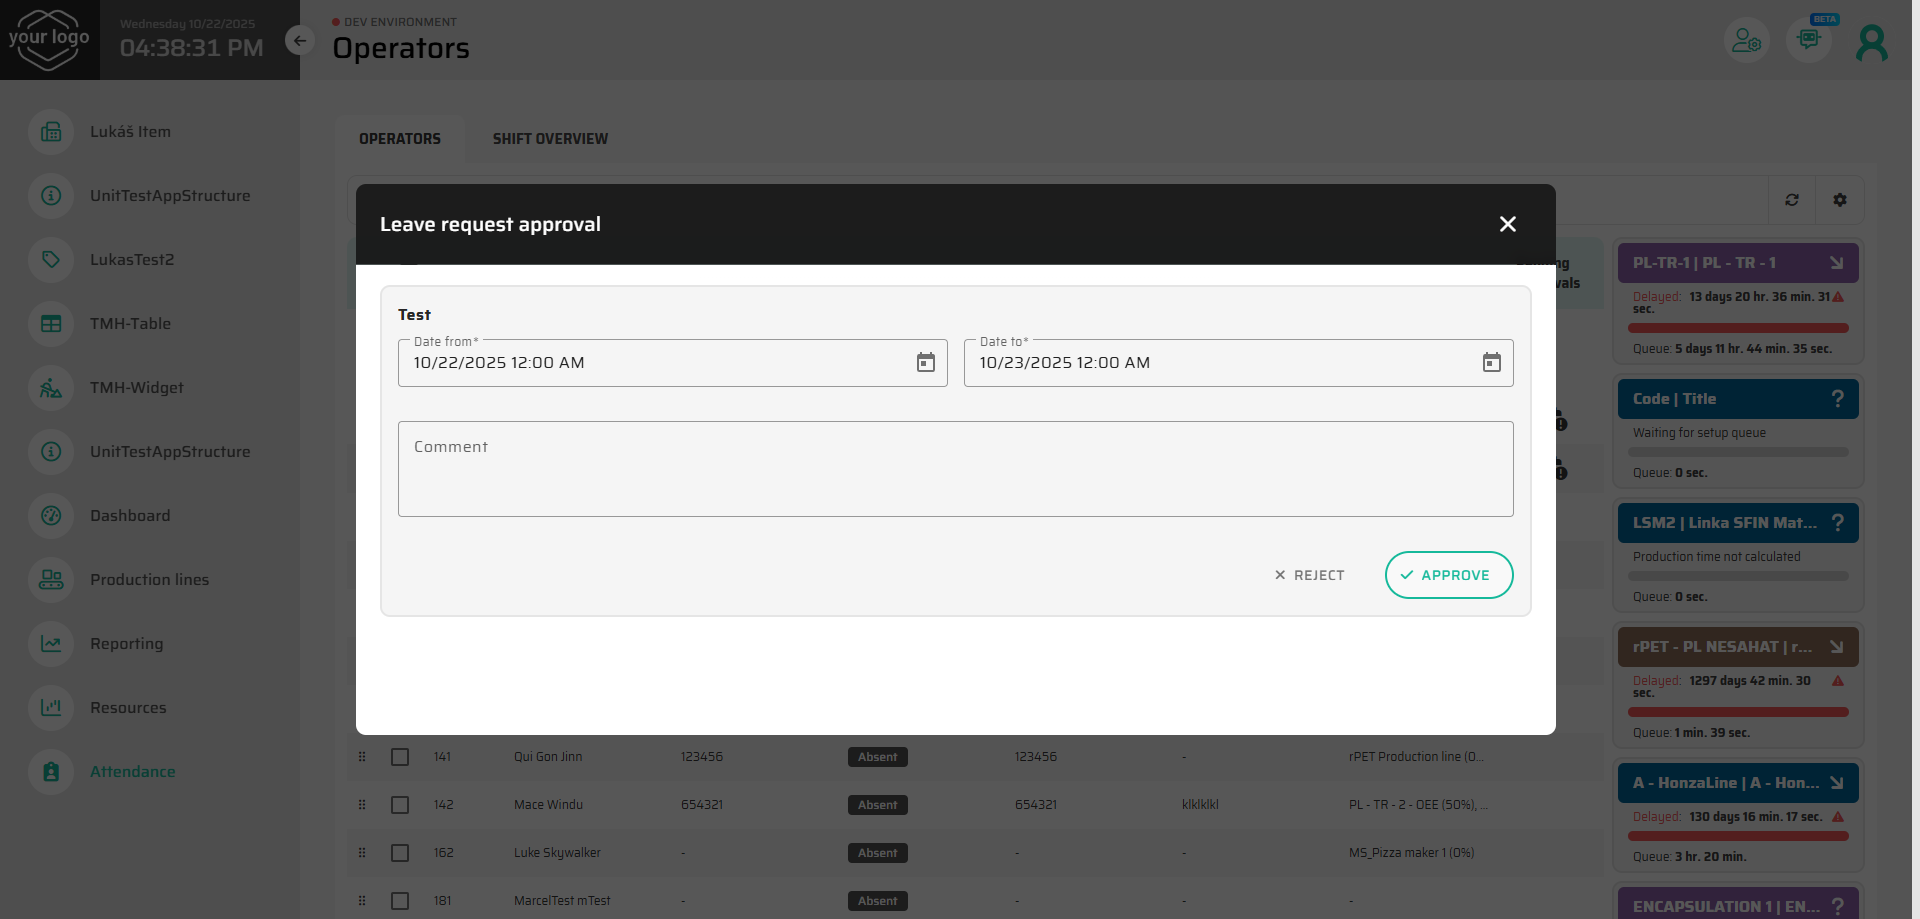
Reviewing and Approving Requests
When a request appears in your pending list:
Open it either from the Operators tab (via the icon) or from the Leave Requests tab inside the operator’s profile.
Review the information:
Requested date and time range
Type of leave (vacation, sickness, unpaid, etc.)
Any note or comment from the operator
Decide whether to:
Approve – confirms the absence; the system updates the operator’s schedule.
Reject – declines the request; you can leave a short comment explaining why.
Modify – if the proposed dates conflict with production needs, you can edit the time range before approving.
After approval or rejection, the operator’s status and calendar are immediately updated.
All changes are recorded in the operator’s History for traceability.
Automatic Status Changes
Some status transitions happen automatically to ensure consistency and avoid missed decisions:
If a pending request is not processed before its planned start date, it is automatically marked as Denied.
When an approved request reaches its start time, it is automatically marked as Finished.
These automatic transitions help keep the attendance overview accurate without manual cleanup.
Leave Request History
Each operator’s Leave Requests tab provides a chronological overview of all requests, including:
Requested and approved dates
Current status (Waiting, Accepted, Denied, Finished)
Decision comments
Who approved or rejected each request
This serves as a transparent audit trail for both team leaders and HR.
Tips and Best Practices
With global parameter
Only team leader can approve vacationactive you can secure approval process for Team Leaders only.Check pending requests regularly — ideally before creating new shift plans.
Always include a short comment when approving or rejecting, especially if you change the requested dates.
Encourage operators to submit requests in advance to avoid last-minute staffing issues.
After processing several requests, verify the Shift Overview to ensure all shifts remain adequately staffed.
Next Step
Continue to the next topic: Using Shift Overview — learn how to review, edit, and manage production shifts and operator coverage.