Working with Operators Tab
The Operators tab is the central workspace for managing people on the shop floor.
It allows Team Leaders and Supervisors to:
view and filter all registered operators,
assign operators to production lines and shifts,
review operator details,
and manage individual availability or leave indicators.
This tab connects the organizational setup (master data) with the real-time production plan.
Interface Overview
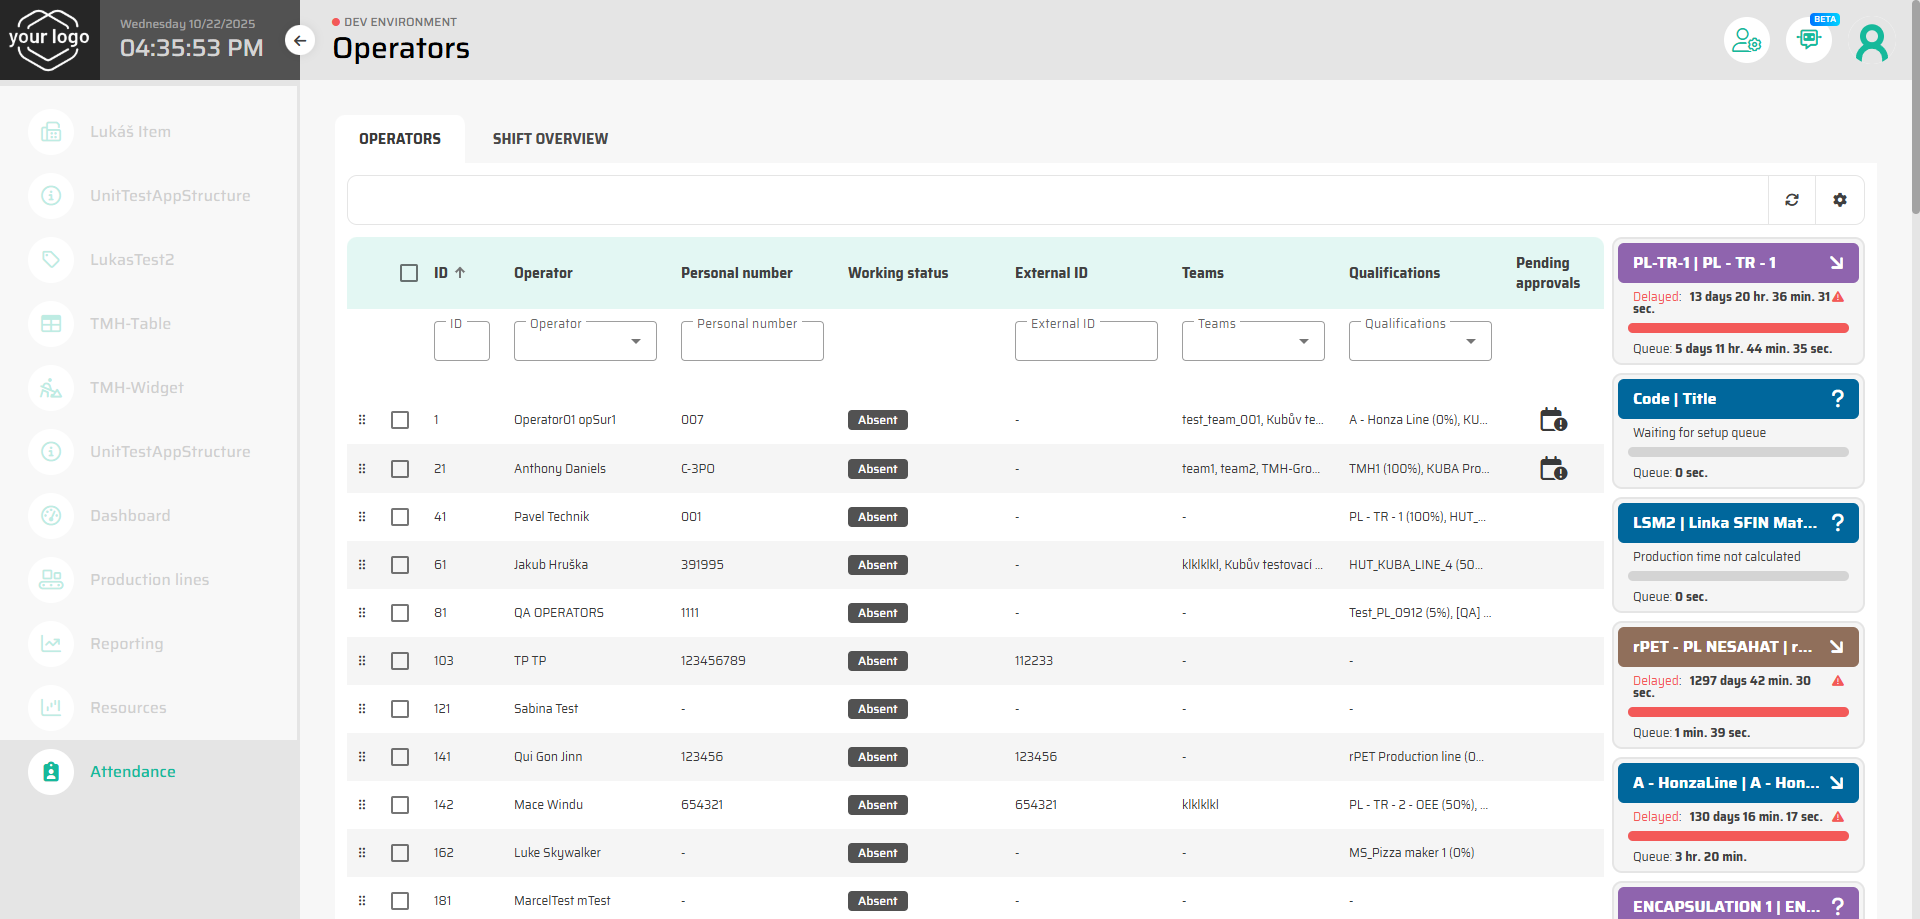
When you open the Attendance module in Production Control, the first tab displayed is Operators.
The screen is divided into two main areas:
Left side: list of all operators visible to the current user (depending on team permissions).
Right side: list of production lines, where operators can be planned or reassigned.
At the top, you can find filters and quick search fields for name, personal number, team, or cost center.
Operators with a pending leave request are marked with a Leave Request icon next to their name.
Viewing and Filtering Operators
You can search and filter operators to narrow down the view:
Use the Team filter to show only your team members.
Combine filters (e.g., Team + Qualifications) for specific views.
The filtered view persists during your session, allowing quick navigation between teams or shifts.
Tip: Team Leaders can pre-filter the list to display only operators from teams they manage — simplifying daily planning.
Assigning Operators to Production Lines
Operators can be assigned to production lines directly from this tab. There are two supported methods:
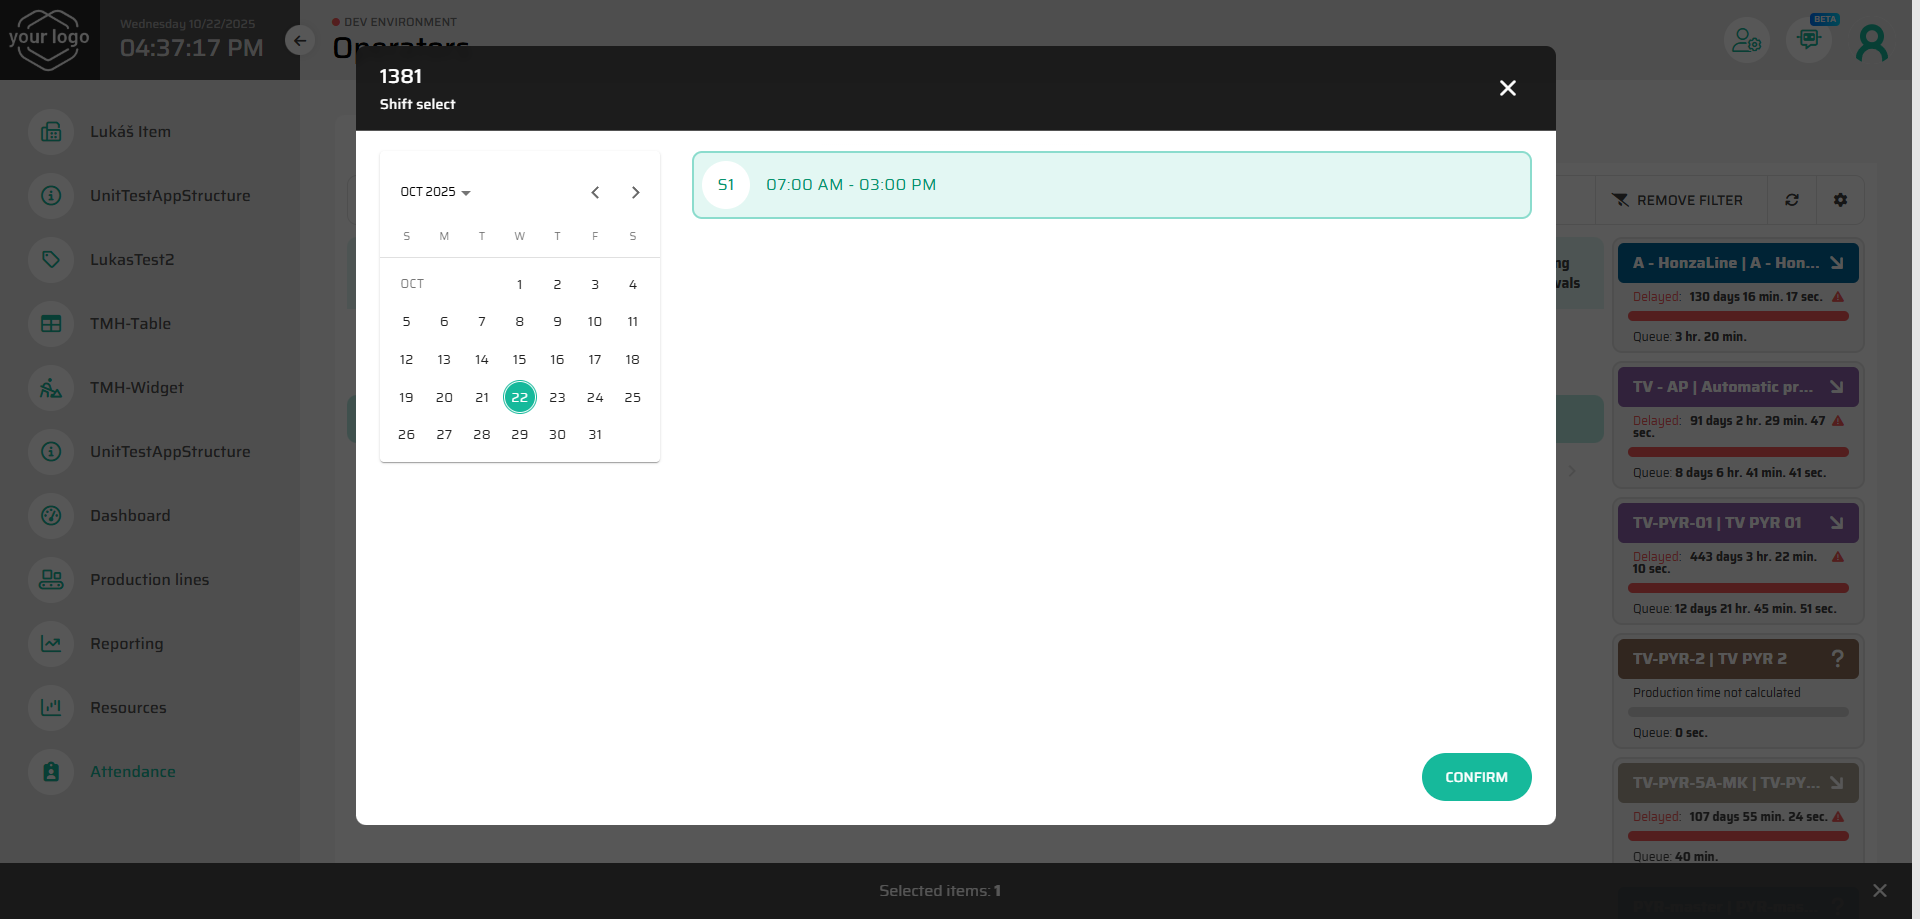
Option 1 – Drag and Drop:
Drag an operator from the left list and drop them onto the desired production line on the right.
A scheduling dialog opens, showing the calendar of that line.
Select the date and specific shift for assignment.
Confirm to complete the planning.
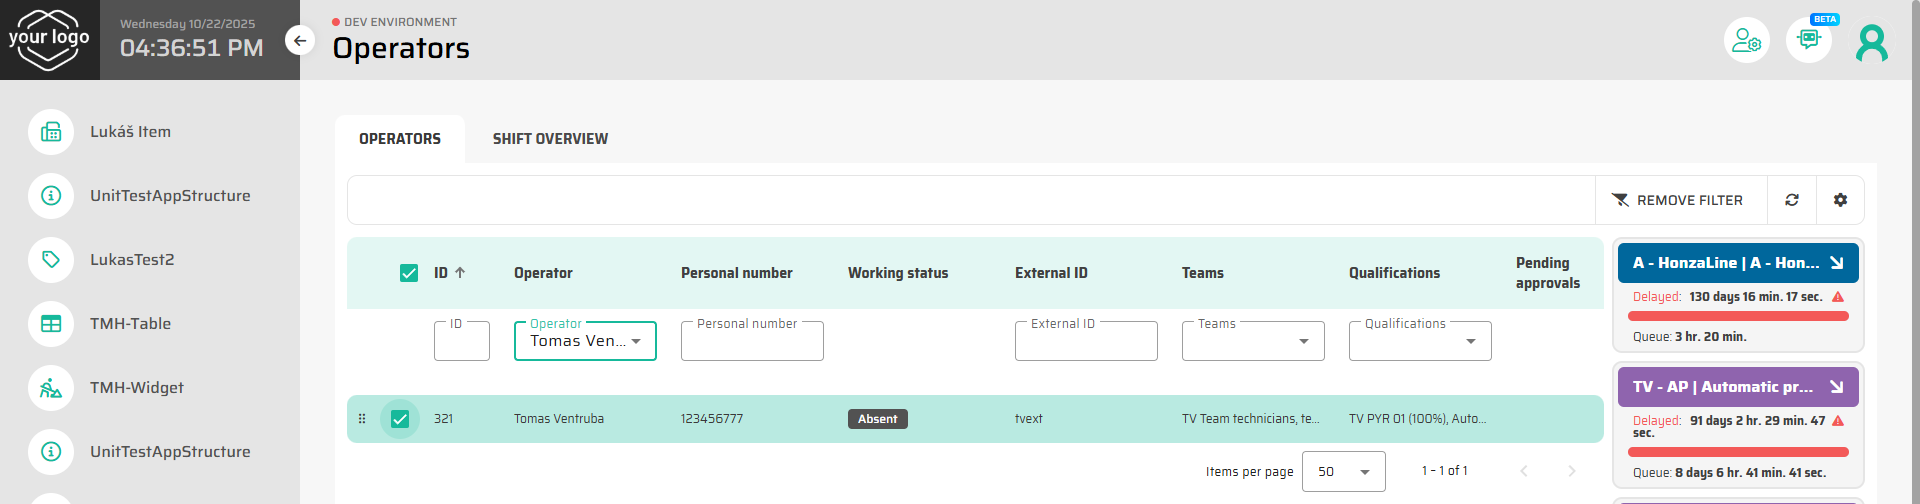
Option 2 – Select and Click:
Select one or multiple operators using checkboxes.
Click the target production line.
Choose the shift from the calendar popup and confirm.
After confirmation, the operator is officially planned on that line for the selected shift, and the change becomes immediately visible in both the Operator and Shift Overview tabs.
Reviewing Operator Details
Clicking on an operator’s name opens a detail view with four tabs:
Main Info – Displays operator’s name, team, cost center, and calendar overview (planned shifts, absences, and requests).
Leave Requests – Shows all past and active requests for vacation or absence. Pending requests can be approved or rejected directly here.
History – System log of all actions related to the operator (assignments, approvals, changes).
Attendance – A work log of the operator, showing login/logout times, active workstations, and total presence duration.
Tip: The Attendance tab provides traceability for all time-related data and can be used for troubleshooting discrepancies in attendance reports.
Next Step
Continue to the next topic: Managing Leave Requests — learn how to approve, reject, or reschedule operator absences.