Simple Kanban Loop
If you are a consultant or a business analyst looking to create custom applications within the P4 Platform without writing a single line of code, you are in the right place.
In this guide, we won't just talk about abstract concepts. We are going to build a fully functional, real-world application from scratch: A Production Kanban Loop. By the end of this tutorial, you will understand how the P4 Platform works and how you can use its no-code tools to solve complex manufacturing challenges.
The Goal: What Are We Building?
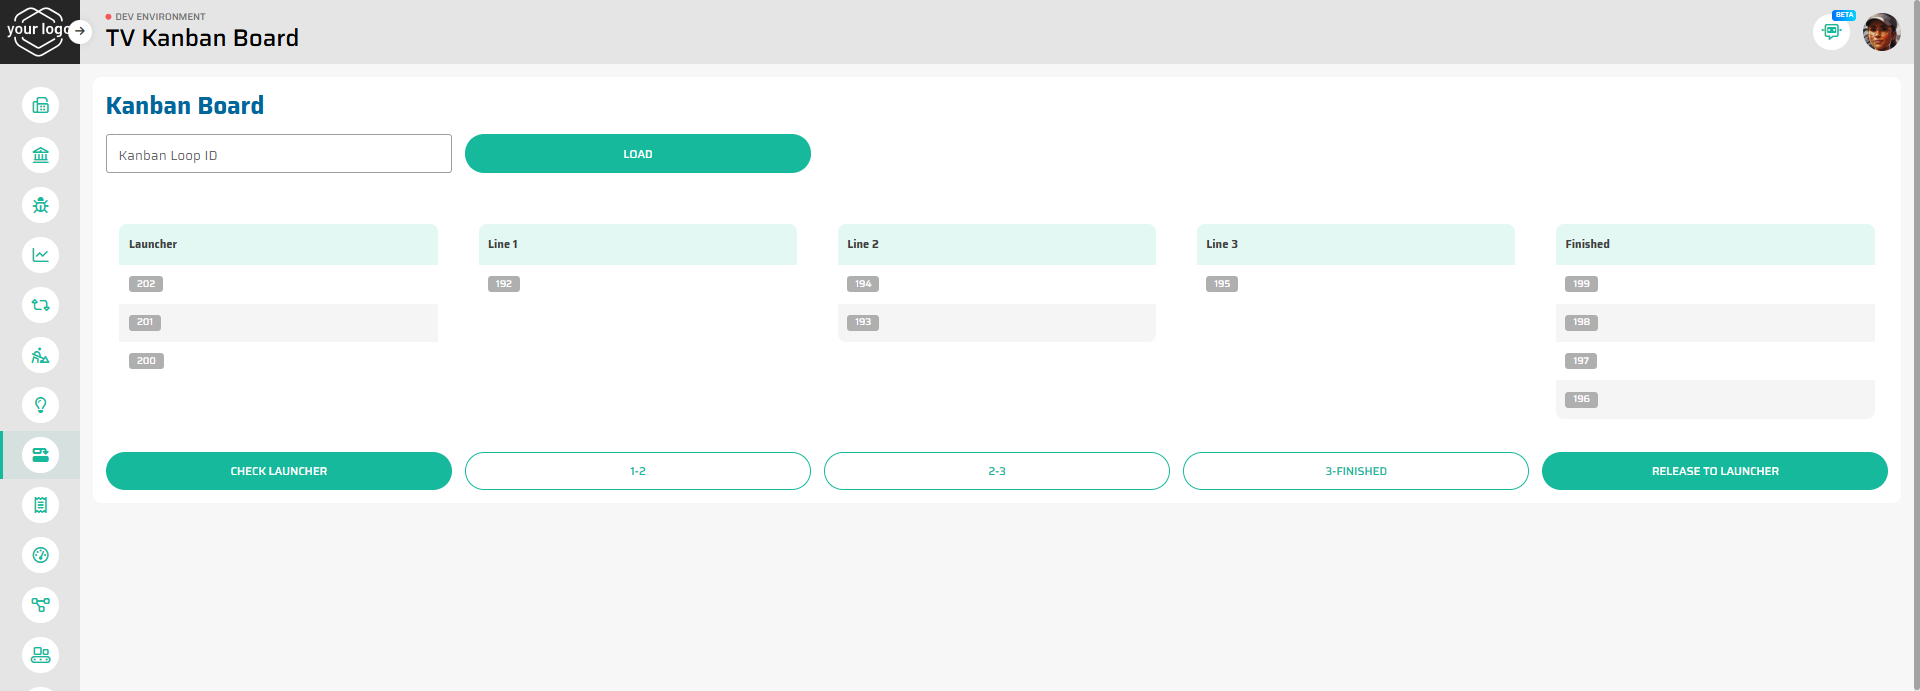
We are going to build a TV Kanban Board.
In manufacturing, a Kanban Loop controls the flow of materials through various production lines. Instead of just creating a simple visual imitation, we will build a full-fledged Kanban process.
Our process will follow this lifecycle:
Launcher: Kanban cards wait here until a sufficient batch size is reached to release them into production.
Production Lines: Cards move through a designated routing (e.g., Line 1 ➔ Line 2 ➔ Line 3).
Finished: Once a card completes the final operation, it moves here, ready for the material to be consumed. Finally, it gets released back to the Launcher to repeat the cycle.
Here is what our final application will look like:
How It Works: The P4 Architecture
To build this app, we will use the four dimensions of the P4 Process Builder. Don't worry, it is highly logical and follows a natural building process:
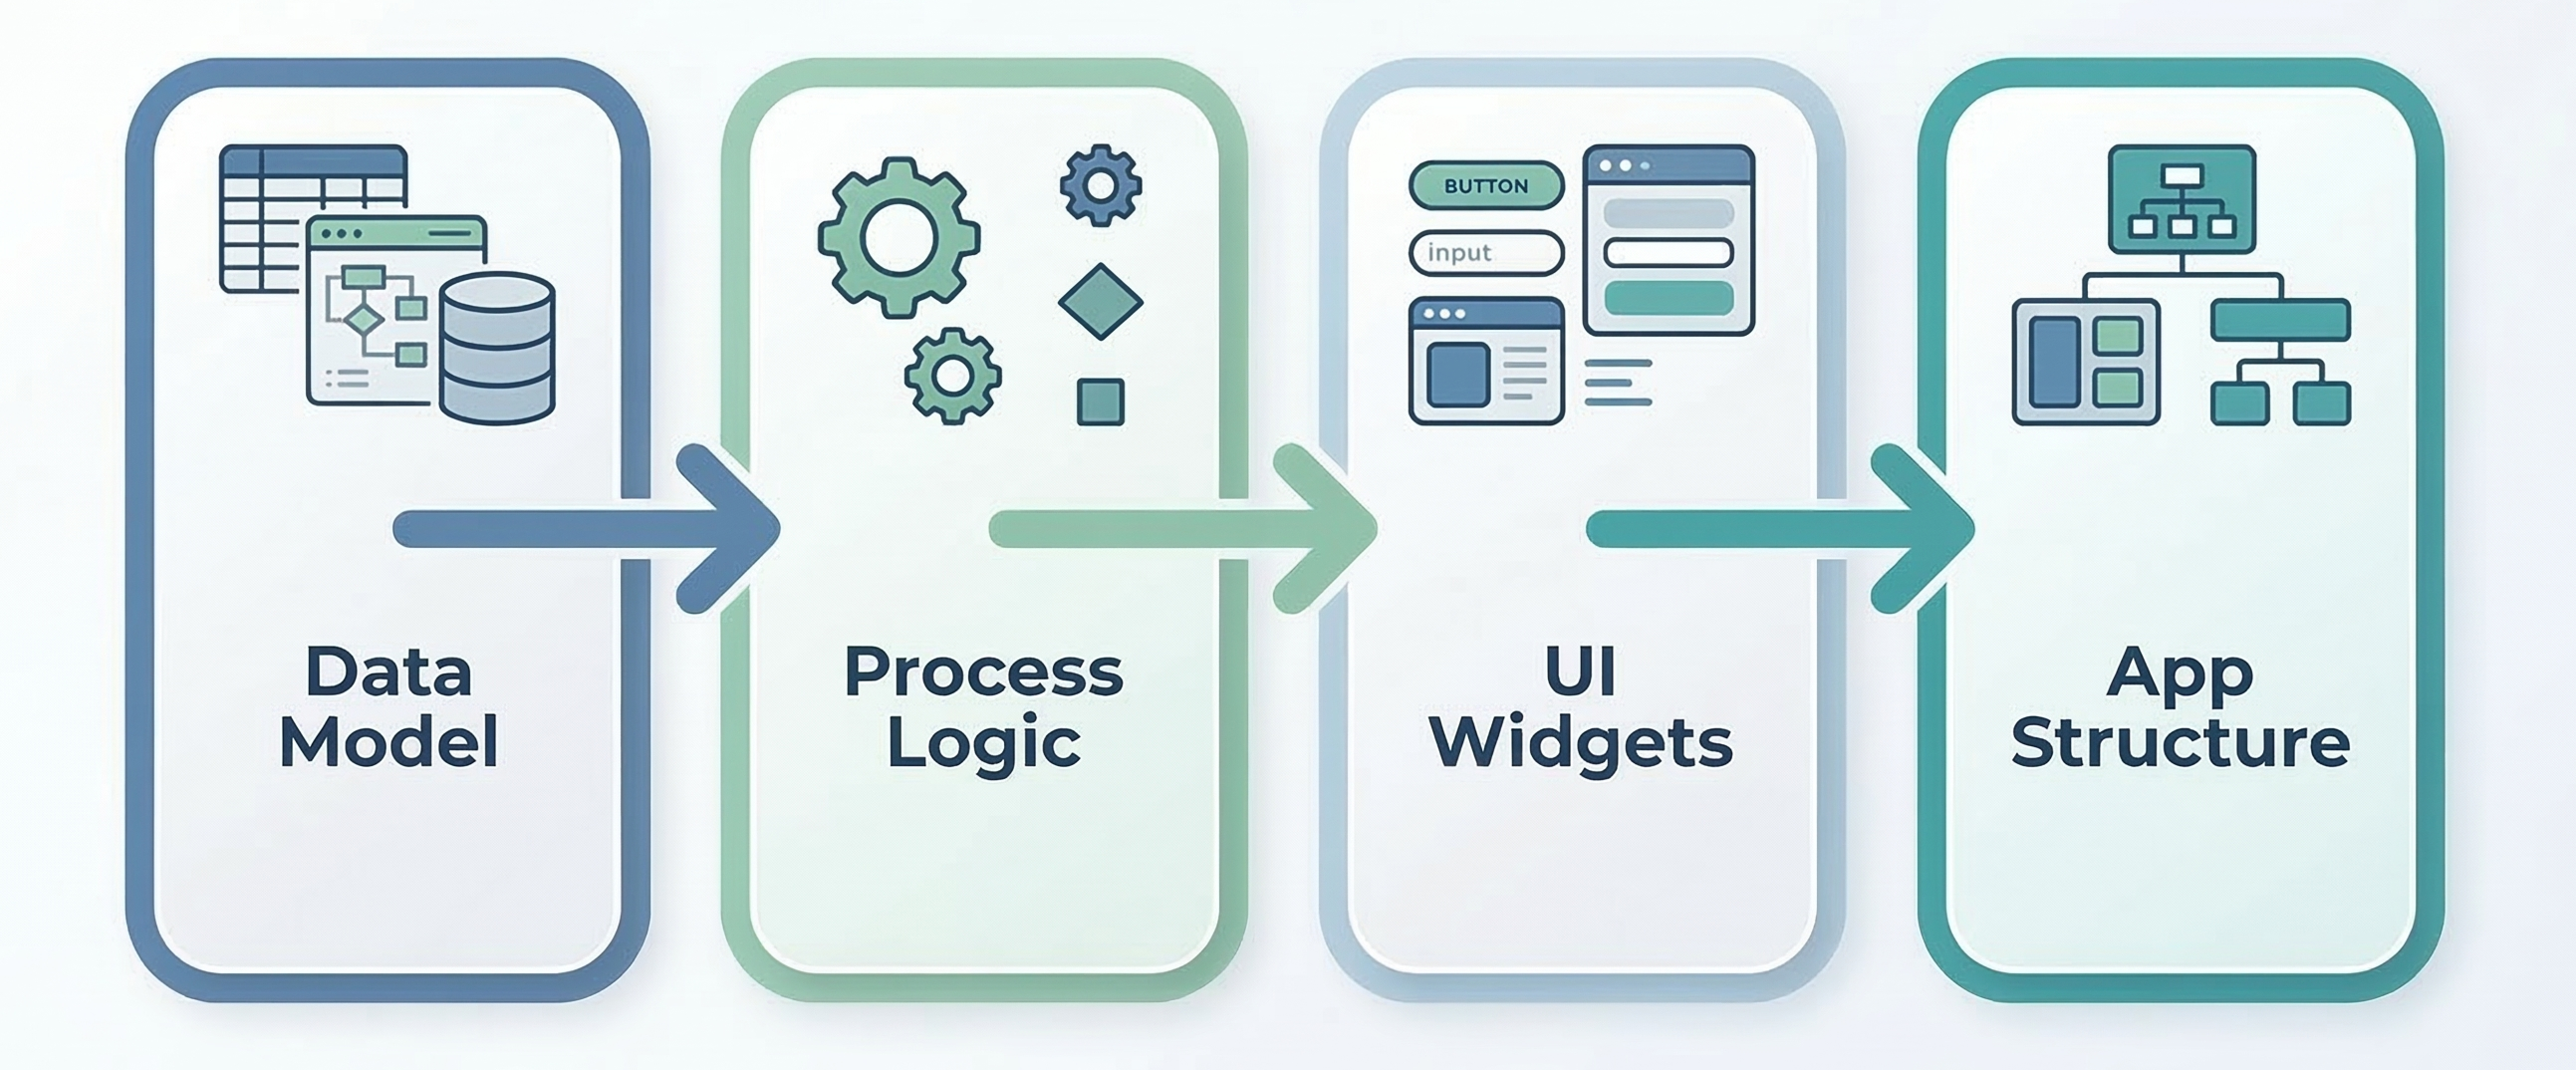
The Data Model (Entities & Views): First, we need to tell the system what data we are working with. We will create custom database tables (Entities) for the Kanban Loop and the Kanban Cards.
Process Logic (Flow Builder): Next, we define what happens. We will build visual workflows (Flows) that contain the business logic - for example, a flow that checks if there are enough cards in the Launcher and moves them to the first production line.
Interactive UI (Widgets): Then, we define how the user interacts with the system. We will create a Widget (our Kanban Board) with buttons and tables that trigger the Flows we built in the previous step.
Page Composition (Layouts & App Structure): Finally, we will place our Widget onto a page Layout and add it to the application's main navigation menu so users can access it.
Ready to Start?
Follow the steps below in order. We have broken down the process into easily digestible parts:
(Tip: We recommend keeping two browser tabs open—one with this guide and one with your P4 DEV Environment, so you can build alongside the tutorial!)